
Last week was Michael's Customer Appreciation week so I took advantage of their wonderful 50% off any item deal and went back every single day. I even brought my mother and brother along to pay for my items since the policy was "One coupon per customer per day."
One of the items I bought was a mini-springform pan, also known as a cheesecake pan. It's a pan with a latch, allowing you to remove the rim.
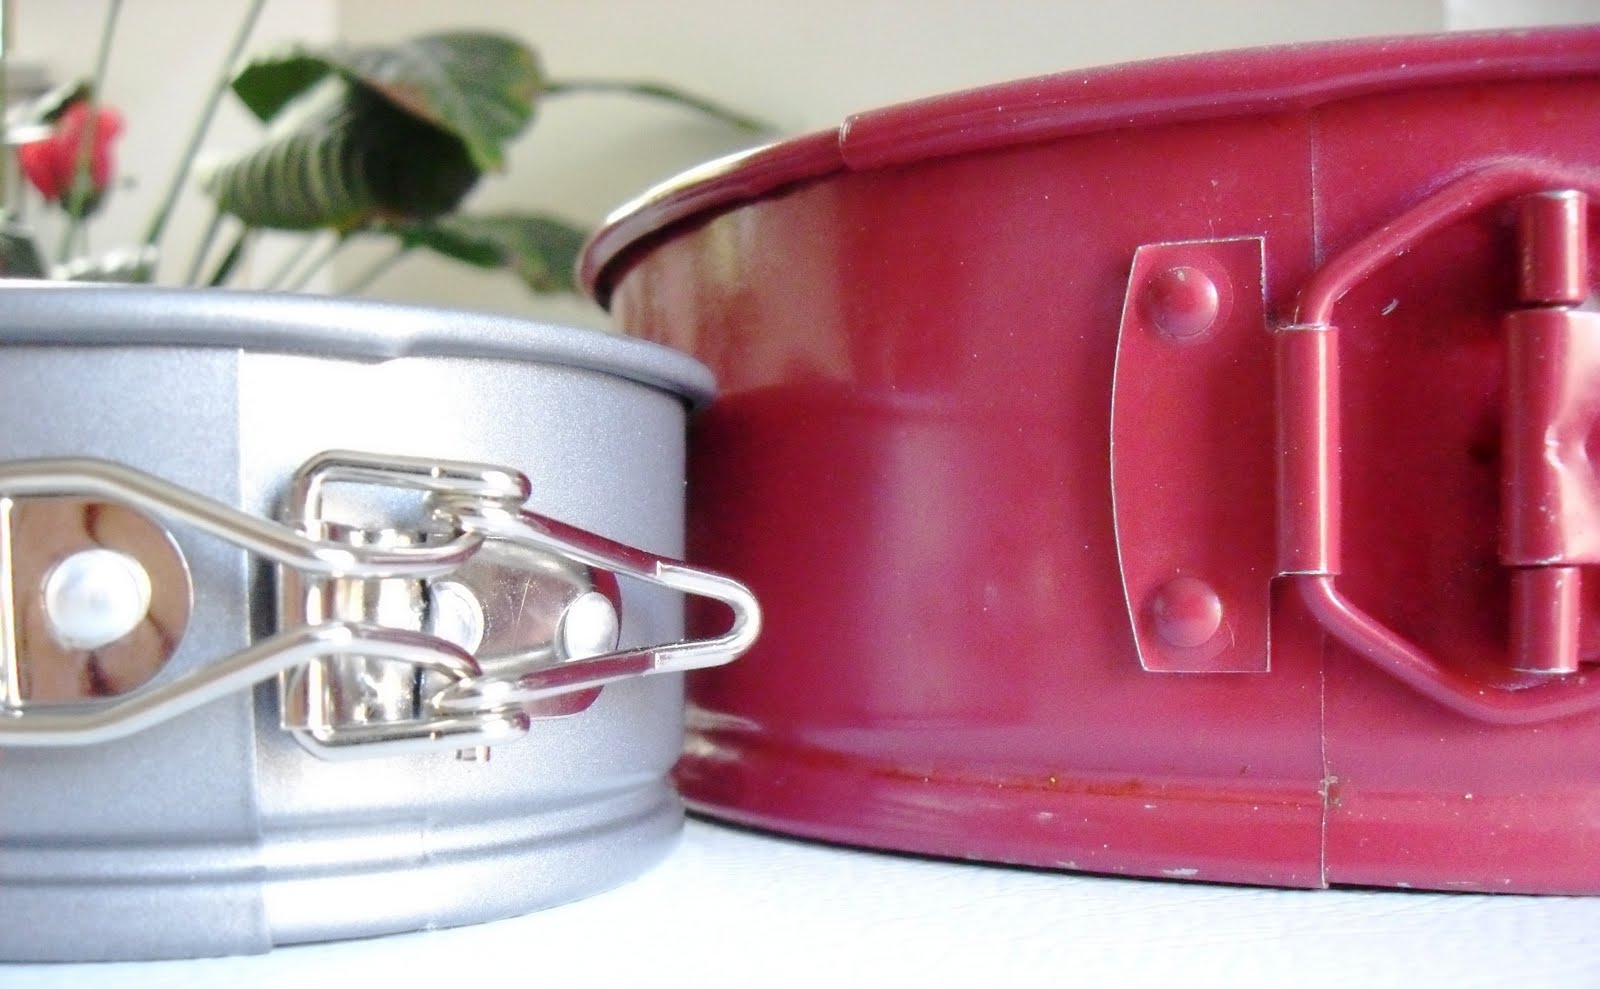

I thought my mini-pan was adorable.

Until it broke.

So I went back to Michael's and replaced it with a different product. Instead of making one regular cheesecake and one small one, I made one regular and three mini's.
The recipe for this cheesecake is perfect, especially for you brownie lovers. Of the 20+ people that tried it, only one objected. It's great for parties or, if nothing else, just pure indulgence.
Brownie-Bottom Cheesecake
Ingredients
2 oz. bittersweet chocolate
1/4 cup butter (1/2 stick)
1 and 1/2 cup sugar, divided
4 eggs, divided
1/4 cup milk
3/4 Tablespoon vanilla extract, divided
1/4 teaspoon almond extract (optional)
1/4 teaspoon almond extract (optional)
1/2 cup flour
1/4 teaspoon salt
3 packages (8 oz) cream cheese (room temperature)
1/2 cup (4 oz) sour cream
Instructions: Making the crust
Preheat the oven to 325 degrees F. Grease a springform pan with pure vegetable shortening and sprinkle with flour. Turn over and tap to remove excess flour.
Cut the chocolate squares in half and combine in a large microwaveable bowl with the butter. Microwave on high for 1 minute. Remove from the microwave and stir until the chocolate is melted and fully combined with the butter. You should have a smooth mixture.
Add 1/2 cup sugar. Mix well. With a mixer on low speed, add in 1 egg. Add milk and 1/4 Tablespoon (same as 1 and 1/2 teaspoons) vanilla extract. Combine the flour and salt and slowly add into chocolate mixture.
Spread evenly into prepared springform pan. Bake for 15-20 minutes.
Making the cheesecake
Bring a large pot of water to a boil. Bring all ingredients down to room temperature.
In a large bowl, beat the cream cheese until smooth and lump free. (Make sure you're using the blocks of cream cheese and not the kind in the tub!) Add the remaining 3/4 cup sugar, 1/2 Tablespoon of vanilla extract, and 1/4 teaspoon almond extract. Add sour cream and mix well. Add remaining 3 eggs, one at a time, incorporating each egg at low speed.
Triple wrap the bottom and sides of the cheesecake pan with aluminum foil to waterproof it. Pour the cheesecake mixture into the pan. Place the cheesecake into a large roasting pan and pour the boiling water into the roasting pan until it reaches about halfway up the pan.
Place in the oven and bake at 325 degrees F for 55 minutes to 1 hour, until the center is almost set. Turn off the heat and allow the cheesecake to sit in the oven, with the door closed, for another hour.
Now, if you're wondering, why can't I set it directly on the oven rack to bake? Well, because cheesecake is more delicate than a regular cake or pie. Baking in a water bath prevents the sides of the cheesecake from baking faster than the center. Allowing the cheesecake to sit in the oven with the heat off prevents browning and overbaking.
You want a cheesecake like this (my second attempt)...

And NOT like this...

(my first attempt, baked directly on oven rack
with water bath on bottom rack)
with water bath on bottom rack)
See the difference?
After one hour of sitting in the oven, remove and cool completely on a wire rack. Afterward, chill for at least 4 hours or overnight. Before removing the rim, remember to run a thin knife between the edge of the cheesecake and the pan. When ready to serve, allow to stand at room temperature for 30 minutes.
The original recipe can be found here. I just used a different type of chocolate in my recipe and cut the amount of crust in half. Either way you choose, it still turns out delicious!
Even Pac-Man thinks so ;-)

Open up WIDE and...

Enjoy!






 Posts
Posts

